One of the biggest pains with web development is doing cross browser testing. In this article I want to take a look at using the android emulator for testing your site on the various android versions.
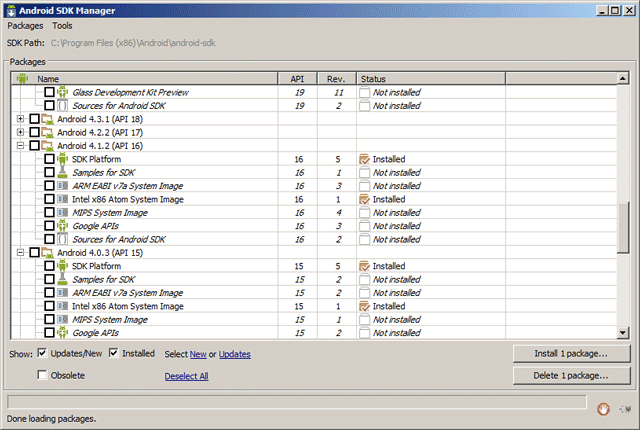
The android emulator comes as part of the android SDK, so you’ll need to install that first. Once you’ve got that installed, you can launch the android SDK manager and download the images for the android versions you want to test on.
But what versions should you test on? Here’s some handy usage stats: Graph showing the most common SDK installed on Android phones and tablets. Personally I’m testing on 2.3.3, 4.0.3, 4.1.2, 4.4.2, and 5.0.1.
Now, the android emulator is extremely slow. It is recommended that you download the Intel Atom (x86) images and install the Intel Hardware Accelerated Execution Manager (assuming your PC supports it). You can read more about speeding up the android emulator here: Why is the Android emulator so slow? How we can speed up the Android emulator?.
I have GPU acceleration turned on, use the Intel x86 images with HAXM enabled, and run my Android Virtual Devices from an SSD (which is a different SSD to the one my OS and the Android emulator are installed on). But despite all this, it is still extremely slow, both to load the VM image, and in operation. I have tried using snapshots, but I couldn’t get the VMs to start with snapshots enabled.
Anyway, after downloading the images using the SDK manager, you’ll need to go to the Android Virtual Device (AVD) Manager. And it is here that you can create your virtual devices to test on. You’ll probably want to create one or more devices for each version of android you want to test on. (Different devices can have different screen sizes and resolutions).
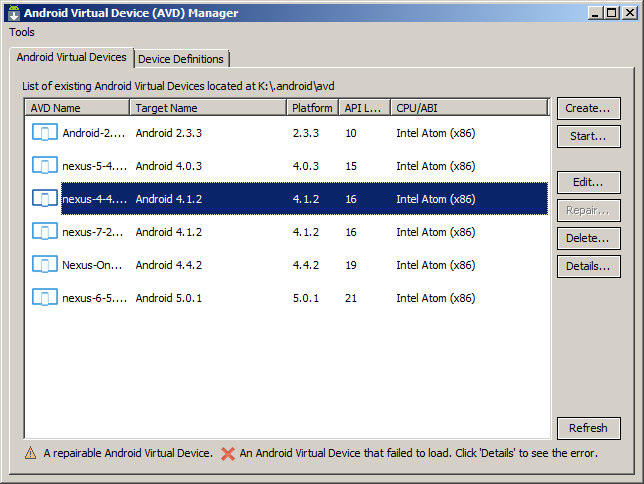
Android Virtual Device Manager
To test a local copy of a website on an android device involves a bit more work though. I set up local copies of my websites using their live domain name with a slightly modified .tld. So, for example, my local copies of this website I access via xoogu.com (version served by nginx) and xoogu.can (version served by apache). To get these to work on a desktop is just a matter of editing the hosts file to point those domains to the IP address of my development machine.
In theory, you should be able to edit the hosts file on your android virtual device to do the same thing. However, it’s not really practical. What I do (on Windows) is use two pieces of software – ProxyCap and Fiddler.
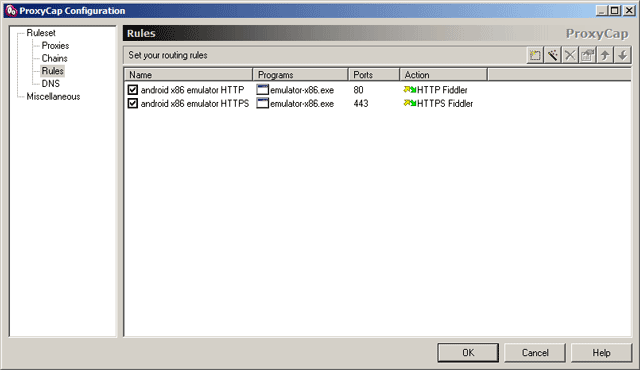
ProxyCap can be used to take HTTP and HTTPS traffic from a program and redirect it through a proxy. I use Fiddler as the proxy, which will then redirect the traffic to my local domains as per the host file on my machine.
A guide for configuring ProxyCap to forward HTTP traffic from a program can be found here: Step-by-Step: Using BlueStacks AppPlayer From Behind a Proxy. The process is basically the same for the android emulator, but the program you want to select is C:\Program Files (x86)\Android\android-sdk\tools\emulator-x86.exe. You’ll need to set your proxies up using the port that Fiddler listens on (typically 8888). And enable HTTPS decrypting in Fiddler if needs be.
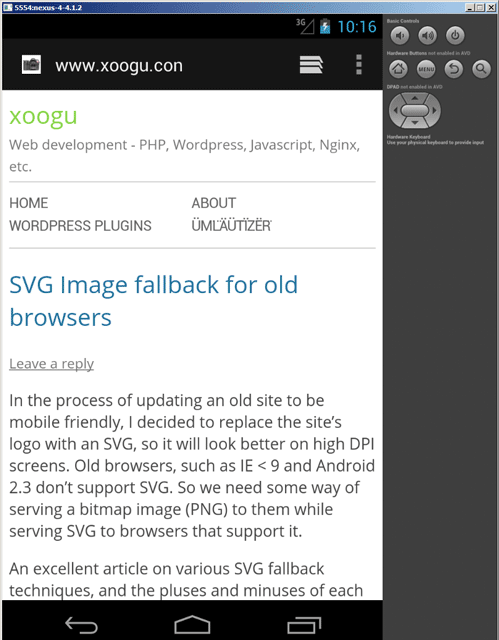
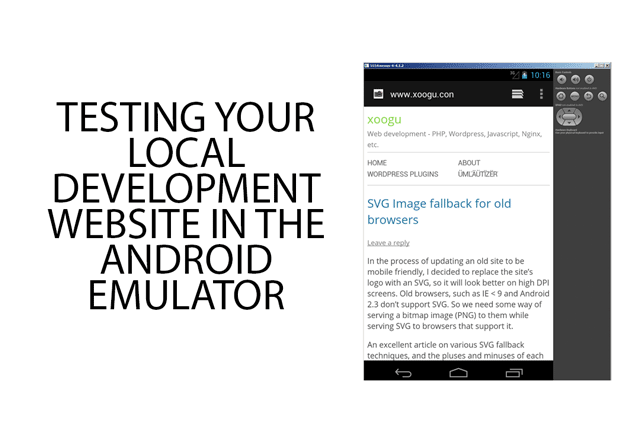
Testing my local development version of this website in the android emulator
Being able to see and inspect the actual HTTP(S) requests made by the Android Virtual Device using Fiddler is very useful when debugging.
I don’t suggest using the android emulator as a first step in debugging your site on an android device. I actually use it as one of the final steps of checking a site before it goes live. I hope to cover my process of cross browser testing a bit more in a future post.
